Pressed Flower Cards Anyone Can Make at the Kitchen Table
Shop cards get glanced at and recycled. A card with a real pressed flower on the front gets kept, propped on a shelf, and sometimes framed. If you have been pressing flowers this summer, you already own the hard part: a stash of flat, colourful blooms that took weeks to make and cost you nothing. Turning them into cards takes ten quiet minutes at the kitchen table, and it is the best beginner make there is.
What you actually need
Card blanks (or thick paper folded in half), PVA glue or acid-free glue dots, something fine to lift petals with (tweezers or a toothpick), and your pressed flowers. That is the whole list. If you want the cards to last for years, choose acid-free card, but for birthday cards and thank-yous, any good thick card is fine. Lay everything out before you start, because once there is glue on a petal you do not want to be hunting for anything.
The one thing worth being fussy about is the flowers themselves. A bloom that browned in the press will still look browned on a card, and no amount of layout fixes it. Bright, flat flowers come from dry blotting paper swapped early, which is worth getting right weeks before you ever reach for the glue.

Where a good card starts
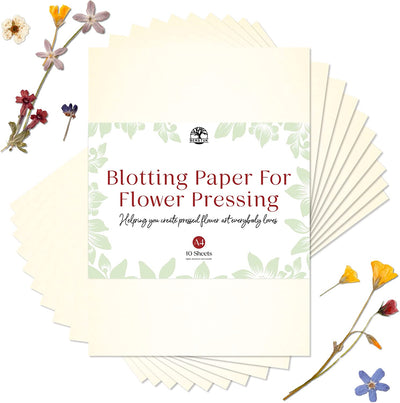
A4 Flower Press Paper
Proper unsized blotting paper, so blooms dry fast and keep their colour. Bright flowers make good cards, and bright flowers start here.
$10.00

A summer of pressing turns into a drawer of card material.
One flower is enough
The most common mistake is crowding. A single well-pressed bloom sitting in clear space, slightly above centre, makes a better card than six flowers fighting for room. If you want more than one element, work in odd numbers: one bloom with two small leaves, or three florets in a loose line. Lay the design out dry first and move things around with the tweezers until it looks right. Nothing is glued yet, so play as long as you like. The moment it looks simple and a little uneven, in the way real flowers are, that is the design.

One bloom in clear space beats six fighting for room.
Glue like it is barely there: pressed flowers are tissue-thin, so a few tiny dots of PVA on the back, applied with a toothpick, is all they need. Brushing glue over the whole flower soaks it, darkens it, and glues your tweezers to everything. Dot, place, and press gently with a clean fingertip, then let the card dry flat under a heavy book for an hour.
From the Berstuk pressing club
Get 10% off your first order, plus the pressing tips we only share with members
Paper timings, colour rescues, and the mistakes that cost people a whole batch. One email a week at most, and you can leave whenever you like.
Tags, minis, and making a set
Once the first card works, everything else is the same trick at a different size. A single small floret on a folded gift tag looks better than any ribbon. Three matching cards with the same flower in the same spot become a boxed set, which is a lovely present in itself. And oddments, the single petals and tiny sprigs that are not enough for a card front, are exactly right for sealing an envelope or dotting a corner. If you pressed a page of hydrangea florets this month, this is where they all go.

A pressed sprig turns plain paper and twine into a present.
Keep the press working while you craft
The only way to run out of card material is to stop pressing. The rhythm that works is simple: while this week's flowers dry in the press, last month's flowers go onto cards. Press a few blooms every week and you will never sit down to make a card and find the drawer empty.

Keeps the pipeline going
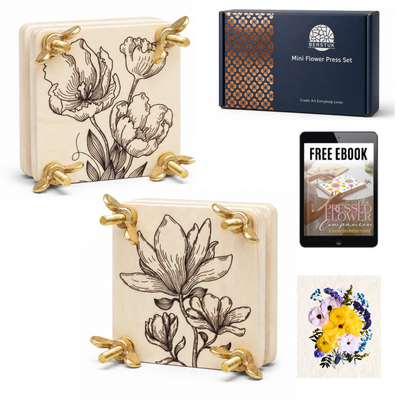
Poppy, Travel Flower Press
Small enough to sit beside the glue and the card blanks without being in the way, so this week's flowers are drying while last month's go onto cards.
$30.00

Small enough to live beside the card blanks.
Frequently asked questions
What glue should I use on pressed flowers?
A few tiny dots of PVA applied with a toothpick, or acid-free glue dots. Never brush glue across the whole flower, it soaks in and darkens the petals.
Will the flower survive going through the post?
Yes, if you seal it. A card in a rigid envelope, or a thin sheet of tissue over the flower, protects it. Mark the envelope as fragile and hand it over the counter rather than posting it in a box.
How do I stop the flower falling off?
Dot, place, press gently with a clean fingertip, then dry the card flat under a heavy book for an hour. Most flowers come loose because the card was moved while still wet.
Can I laminate or seal the front?
You can, and it makes the card more durable, but it flattens the texture that makes a real pressed flower look real. For most cards, leave it bare.
Which pressed flowers work best on cards?
Small, flat and bright. Violas, cosmos, larkspur, single daisies and hydrangea florets. Save the big showy blooms for framing.
Start with one card this week: one flower, three dots of glue, an hour under a book. Whoever opens the envelope is going to keep it, and that is the whole point of sending one.
Questions? We're always happy to help at info@berstukstore.com