If you're like me, you probably have a few rose bushes and maybe even a bush or two of lavender. But if you want to preserve the beauty of these flowers for years to come, it's time for some serious flower pressing!
And no matter what kind of flower you're after (or whether the flowers are on their way out), this guide is going to show you how to press them so that they last longer than just an hour in water. So pull up a chair by your favorite watering can and let's get started.
With a little bit of patience and the right supplies, you can turn your fresh roses into long-lasting pressed flowers that you can use in all sorts of crafts and decorations.
Wild roses or garden roses?
When it comes to pressing roses, it doesn't matter whether you're working with wild or garden varieties. That's because we're pressing the petals one by one, rather than the whole flower.
However, if you were to press whole roses, you might find that wild roses are easier to work with. That's because they tend to have fewer petals, which means there's less surface area to deal with. So, whether you're working with wild or garden roses, you can rest assured that the process of pressing the petals individually will be relatively the same.
However, if you're looking to press whole roses, you might find that wild varieties are slightly more manageable due to their smaller size, few petal layers and ease of making them "flatter".
Here's a step-by-step guide to help you get started:
Choose your roses
Now that you’ve decided to press roses, it’s time to pick which ones. Choose roses that are fully opened and not damaged. You want a variety of colors and sizes so your rose-pressing experience is as enjoyable as possible!
Also don't choose any damaged ones because those can ruin the whole process by getting moldy during pressing! Flower pressing enhances any blemishes or imperfections so choose your blooms carefully.
Get your supplies together
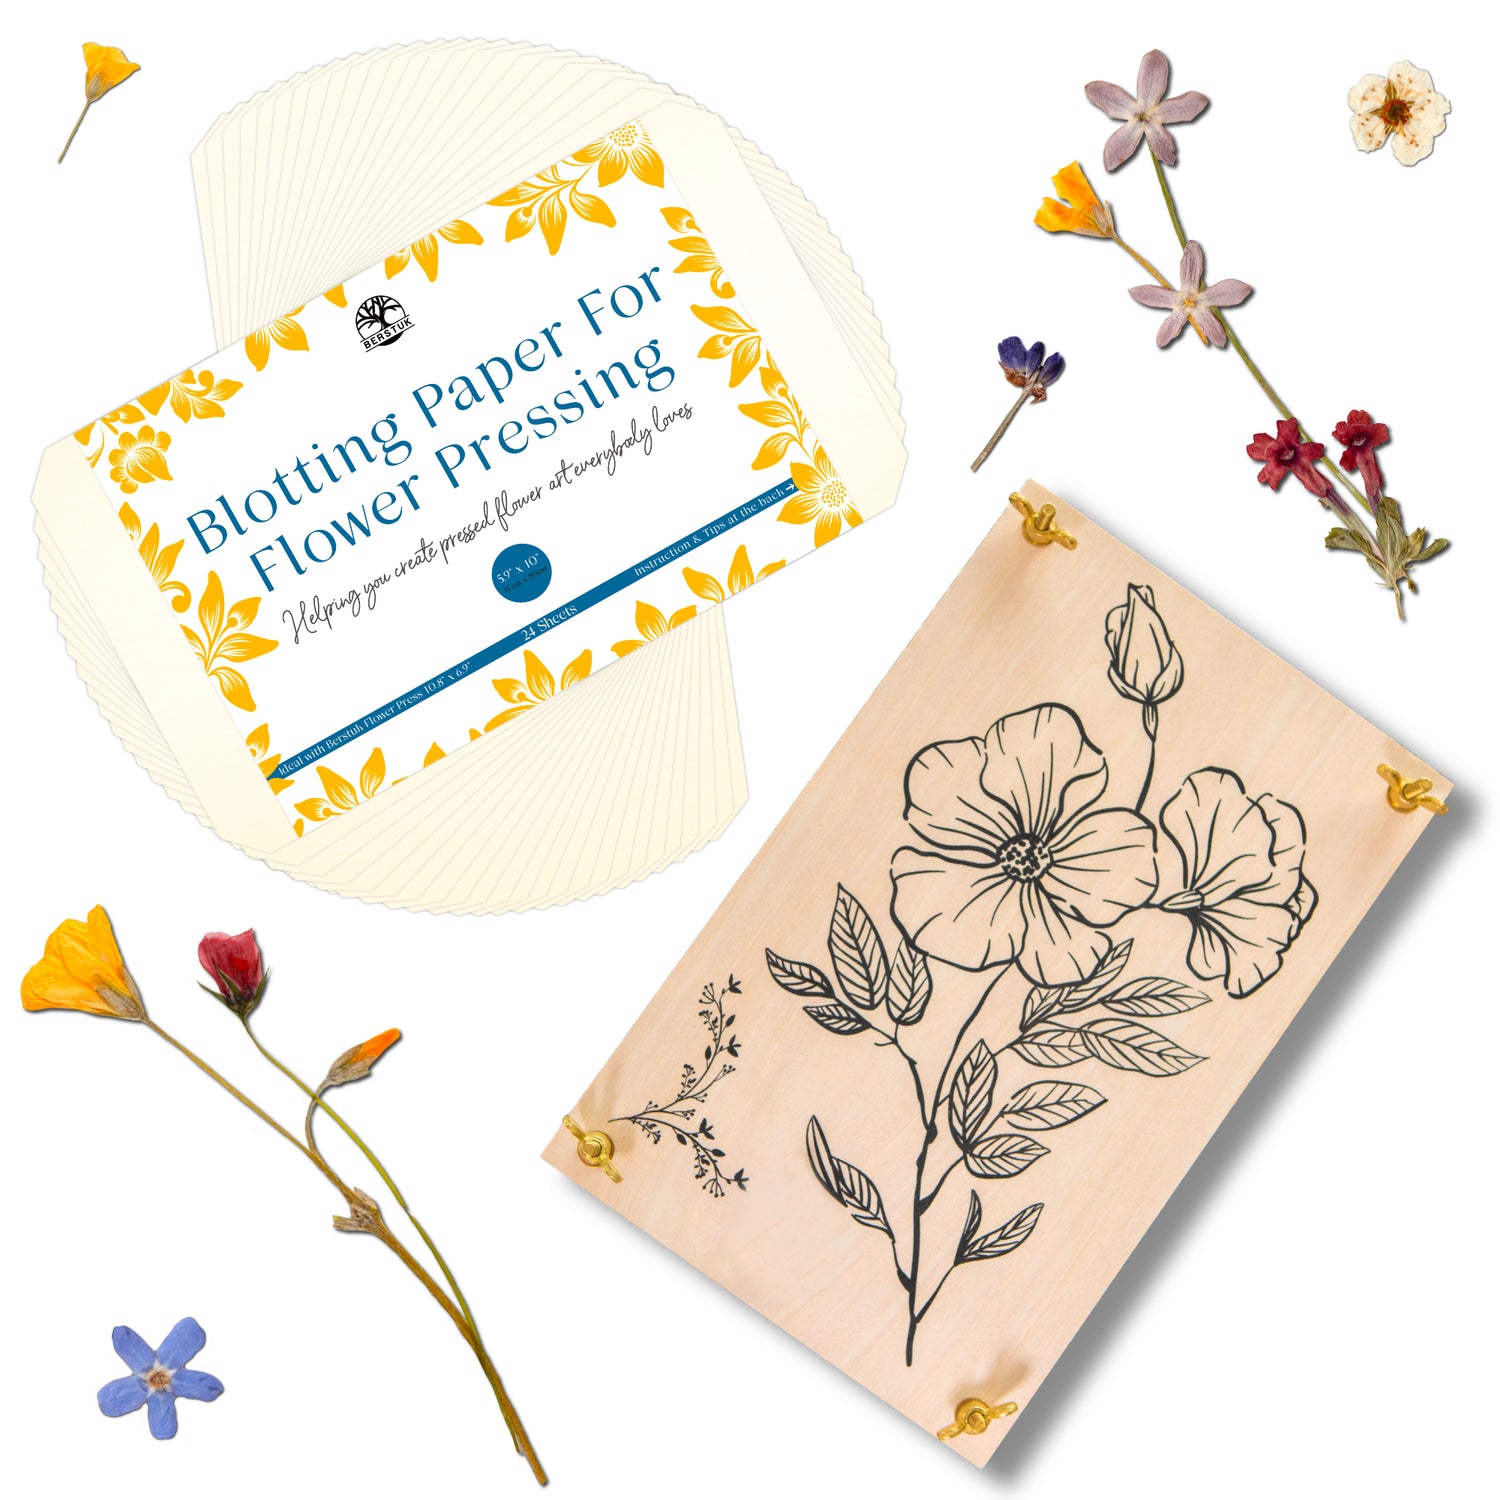
There are a few things that you'll need. First and foremost is a flower press. Look for a traditional wooden flower press with bolts and nuts as this will make it easier to adjust the pressure on your blooms.
You'll also want some paper towel to remove any excess water from the petals and blotting paper for the actual pressing process.
Prepare your roses
To begin, you'll need to remove any foliage from your roses. It's actually very therapeutic as you'll need to focus to avoid ripping the leaves or petals.
Next, remove each petal individually by holding it between two fingers at its base and gently pulling up on it until it separates from the stem. Don't worry if some of them tear apart—it's fine, but don't use them! That's why we are going to press many of them.
Once all of the petals are removed from their stems/roots/whatever else they're attached with (or if you did this part yourself), arrange them all on a paper towel. Then gently dab your individual petals with another paper towel sheet to remove any excess water. Once the petals are dry, you can begin pressing!
This is actually the most fun part because it's so easy and enjoyable.
Press the flowers
- Place each petal on the blotter paper individually in a way they don't touch one another.
- Close the press and check again in about 5 days. If there's still moisture on the blotter paper, change it out for new blotter paper.
- If you don't have a flower press, use a heavy book or stack of magazines instead!
- Individual rose petals press a lot quicker than whole roses and the chances of mold are a lot smaller. It may take about 2 weeks to get your petals dry, pressed and ready for your creations.
If you are thinking of pressing your rose using a book, check out our article How to press flowers in a book.
Cleaning up and storing pressed roses
After pressing, you'll want to store your pressed rose petals in a cool, dry place. While it's tempting to leave them out on display all day long and get ready for the next party or event, don't do this! Store them away from direct sunlight and high humidity levels. If possible, put them in air tight containers with some silica gel sprinkled inside (to keep your petals perfectly dry) until you're ready to create.
Summary
Pressed flowers are a great way to preserve the beauty of your roses, and they're even better when you make them yourself! With all your petals ready, you can reconstruct the perfect flowers in any way you like. Don't forget to add the foliage you pressed too as this will make your rose art pieces even more natural and real.
With this simple process, you can turn your fresh roses into stunning, long-lasting pressed beauties that you can use in all sorts of crafts and decorations. If you're interested in learning more, be sure to check out our blog post on preserving the color of your pressed flowers. So don't wait - start exploring all the possibilities today!
NB. Many artists who read this post also checked article How to make dried flower confetti at home.
Don't miss out on exclusive flower pressing tips, discounts, and more! Sign up for our mailing list now and join our community of flower enthusiasts who are always one step ahead. Click HERE to perfect your pressed flower art.


