Flower pressing is an age-old technique that allows you to preserve the beauty of flowers for a long time. By pressing flowers, you can keep them as a beautiful memory or use them in art and craft projects. In this article, we will go over the steps on how to press flowers for preservation.
Step 1 - Picking time
The first step in pressing flowers is to gather the flowers you want to press. It's best to use flowers that are freshly picked and still in good condition. Avoid using flowers that are wilted or have brown edges as they will not press well. Some popular flowers to press include roses, daisies, violets, and pansies.
You can also read out popular article The easiest flowers to press.
Step 2 Prep time
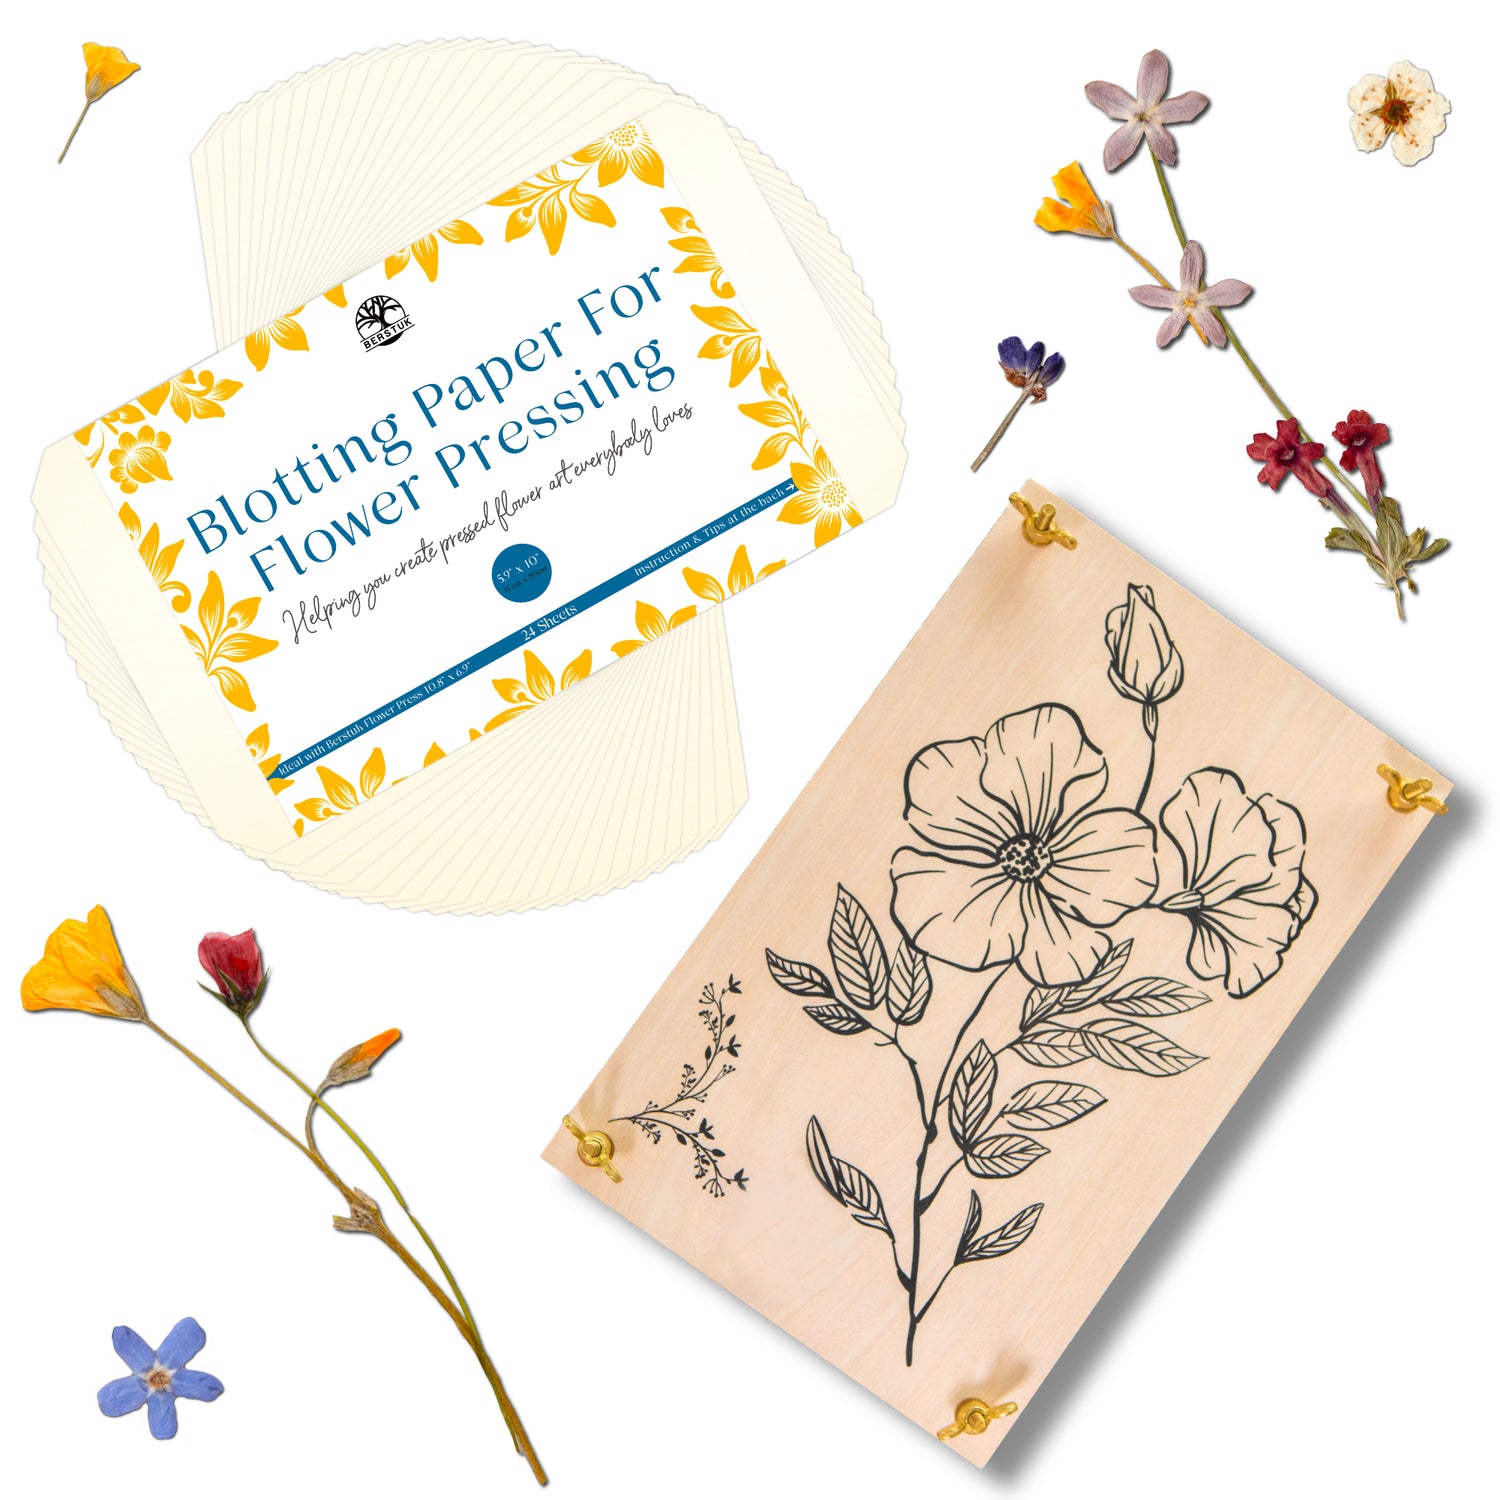
Once you have your flowers, you will need to prepare them for pressing. Start by removing any leaves, stems, or other debris from the flowers. Then, gently lay them out on a piece of paper, such as blotting paper (our favorite) or printing paper. Make sure to spread the flowers out so that they do not overlap and gently flatten them with your finger tips.
If you wonder which paper to use to make sure your blooms turn our beautiful, check out our article The best paper to help you press flowers.
Step 3 Pressing time
Next, you will need to cover the flowers with another piece of paper. You can use the same type of paper that you used before or use a different one. Gently press down on the flowers.
Then, place the flowers and paper between the pages of a heavy book or in a flower press. If you don't have a flower press, you can use any heavy object such as a stack of books or a pan filled with cans (yeap that's how I started :-).
Step 4 Waiting Time
It's important to note that the time it takes for flowers to press can vary depending on the type of flower and the humidity levels. Typically, it takes about 2-3 weeks for flowers to press fully. During this time, you will need to check on the flowers and change the paper if it becomes damp.
NB. Because this is such an interesting topic for every artist, we wrote a separate article just to share some more ideas with you How long does it take to press flowers?
What then?
Once the flowers are fully pressed, you can remove them from the book or press. At this point, you can either leave them as is or add a coat of clear varnish to protect them. If you want to use them in an art or craft project, you can glue them to a piece of paper or use them to decorate a picture frame (My favorite glue is Mod Podge).
If you some more ideas, check out this article Get crafty with these adorable ideas for pressed flower projects.
Storage
It is important to keep the pressed flowers in a dry and cool place to ensure that they last as long as possible. You can also use a desiccant like silica gel to help absorb moisture and keep the flowers dry.
If you are feeling extra adventurous and want to learn even more about preserving your pressed blooms, here is a post for more advanced artists How to protect your pressed flowers by sealing them?
Let's summarise it all
Flower pressing is a fun and easy way to preserve the beauty of flowers. With a little patience and care, you can enjoy the beauty of your pressed flowers for years to come. Whether you're using them for art and craft projects, or just want to keep them as a beautiful memory, flower pressing is a great way to enjoy the beauty of flowers for a long time.
In conclusion, pressing flowers is a great way to preserve the beauty of flowers for a long time. It is a simple process that requires only a few materials, but with a little patience, it will yield beautiful results. Remember to choose freshly picked flowers, prepare them properly, press them between a heavy book or flower press, and store them in a dry and cool place. Happy flower pressing!
Don't miss out on exclusive flower pressing tips, discounts, and more! Sign up for our mailing list now and join our community of flower enthusiasts who are always one step ahead. Click HERE to perfect your pressed flower art.


3 comments
After pressing,can I frame behind glass
I recently made a flower press utilizing a piece of live edge black walnut for the base and black walnut for the frame, with a pony screw clamp for the down pressure plate. It’s easy to use and became a good conversation piece. Happy pressing!
Thank you for the helpful advice. I’m off to press some flowers for a wedding journal gift I’m making. Thank you . ♥️